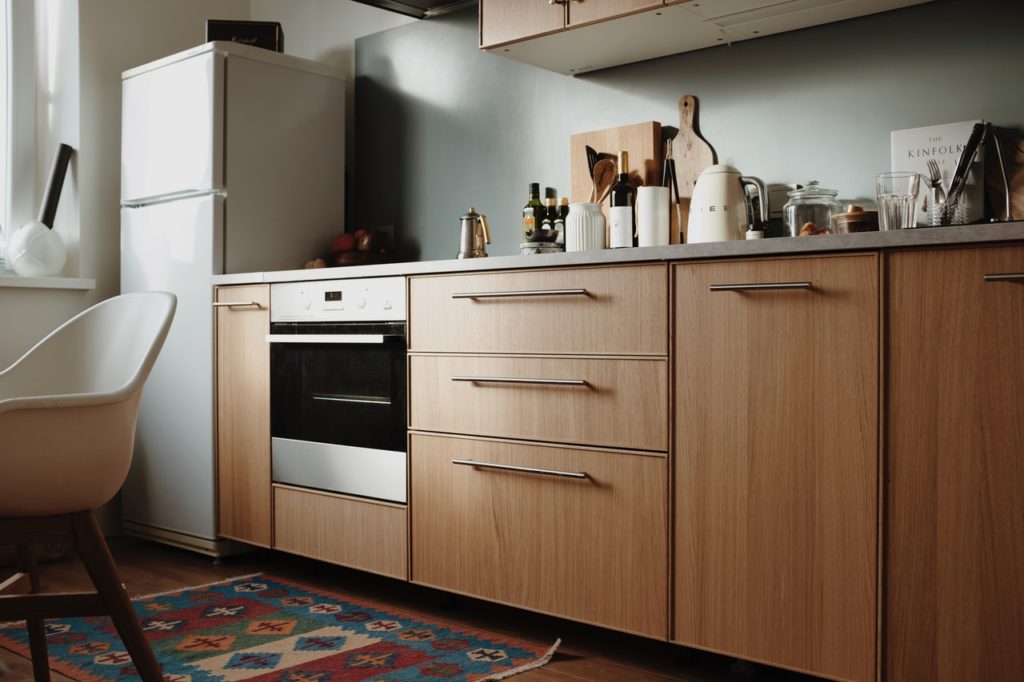
As part of the upkeep of your home, paying a moment of attention to your kitchen worktop can quickly pay dividends. As overlooked as they are, the worktop really does get some of the hardest treatment and wear and tear of the whole house. From chopping and hot pans to constant spills of liquids and fine powders, the wood of the kitchen worktops have been standard for centuries and can last a lifetime with good maintenance and regular oiling.
The common issues with Wooden Worktops is an occasional deep scratch and scuffing, most of which can be buffed out as part of regular oiling.
How to oil your work surface
The best option in a busy kitchen is to start late in the evening, using a clean cloth and a bottle of danish oil. It is a mix of linseed oil and varnish and can be used on almost all woods but takes better to hardwoods than soft ones.
Start by removing all the appliances and clutter off of the worktops and give them a thorough clean. Apply a generous quantity of the danish oil and rub it in circles into the wood. Feel free to be generous in applying a shiny layer over the entire surface. Leave it overnight and first thing in the morning the oil will have soaked into the wood. Give it a quick buff with a clean cloth and it’s done! It is recommended that you oil wooden worktops once every six weeks to keep them looking their best and with regular oiling, the rich tones of the grain will become ever more prominent.

Resurfacing you worktop
If your worktop has a significant chip from a careless swing of the meat cleaver or a burn from the base of a hot saucepan, the regular oiling may not be enough. But there is another option to prolong the useful lifespan of a good quality solid wood kitchen top. Resurfacing may sound like a challenge and if DIY is not your forte, many handymen will happily and affordably resurface a worktop for you.
If you relish the opportunity to make some sawdust, then it doesn’t take any special tools or skills; just patience and attention to detail to achieve a new finish!
You need three grades of sandpaper; the quality will depend on the size of the surface. Start with the roughest grade of sandpaper and sand down the surface in a smooth circular motion, just like you are brushing a giant tooth! Sand down the whole service evenly until you have removed to the scalded wood or have gotten to the base of the chip. Then switch to the medium paper and sand over the surface, repeating with the finest-grade. Remember, that the sandpaper will get clogged with sawdust as you work so stopping regularly to hoover will speed up the job in the long term.
You are now ready to apply the varnish- which one you use depends on the wood and the final appearance you are looking for. Either way, follow the instructions that come with the varnish that you have selected and you will have a new and improved worktop.


